
How to Build a Web Server with ESP8266 and MicroPython to Read DHT11 Sensor Data
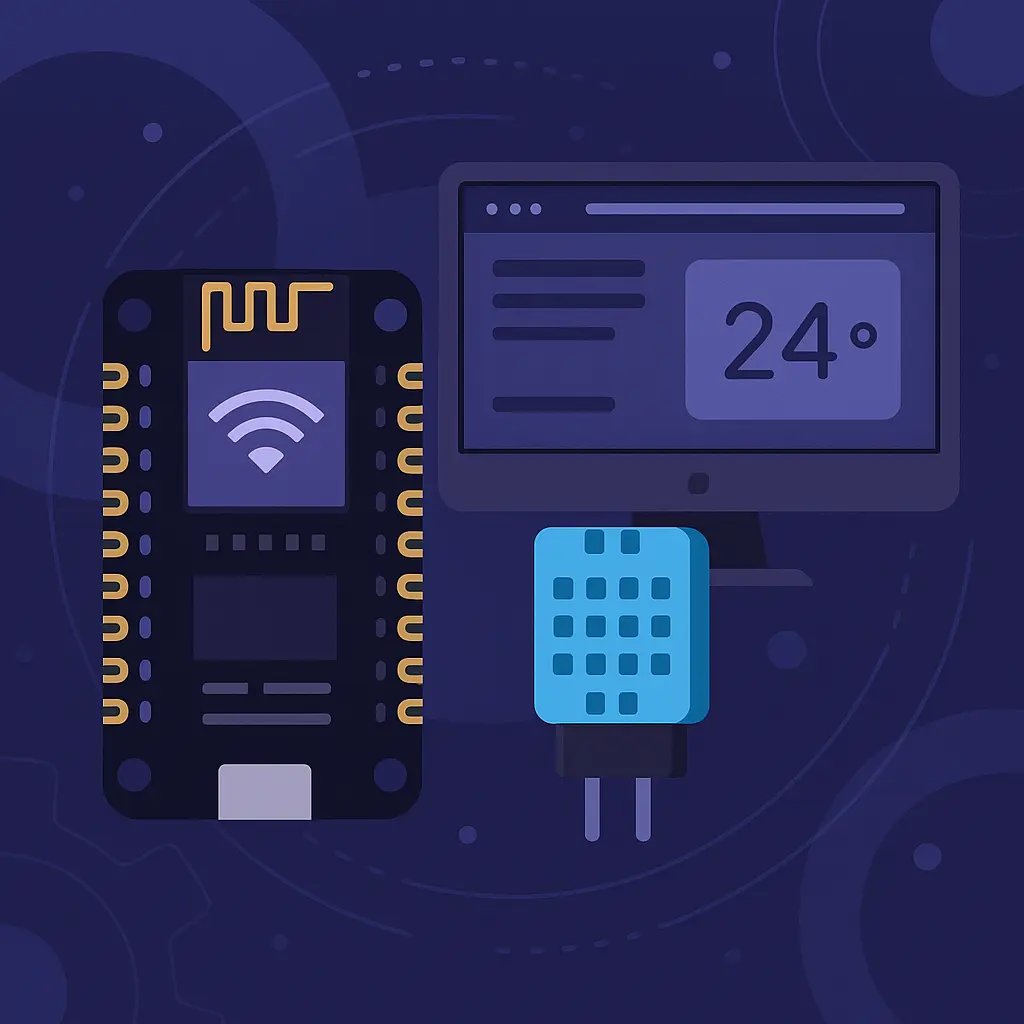
How to Build a Web Server with ESP8266 and MicroPython to Read DHT11 Sensor Data , Creating a fully functional web server using the ESP8266 microcontroller and MicroPython is an ideal hands-on project for anyone diving into the world of embedded systems and IoT (Internet of Things). In this comprehensive guide, you will learn how to read temperature and humidity data from a DHT11 sensor and display it in a web browser via Wi-Fi. We will dive deep into how HTTP requests work, how to set up socket communication, and how to handle client-server interactions in a low-resource environment like the ESP8266.
Why Choose ESP8266 with MicroPython?
The ESP8266 is a widely popular, cost-effective microcontroller with built-in Wi-Fi, making it perfect for DIY IoT projects. When paired with MicroPython, a lean version of Python tailored for microcontrollers, it allows for rapid development, readable syntax, and a smooth learning curve. This combination is ideal for developers who want the power of Python in embedded hardware without the complexity of traditional C-based environments.
Project Objectives and Overview
Primary Objective: Build a Wi-Fi-enabled web server that reads temperature and humidity from a DHT11 sensor and displays the data to users in real time through a browser.
Key Learning Outcomes:
- How to flash MicroPython onto the ESP8266
- Establishing a reliable Wi-Fi connection
- Interfacing with the DHT11 sensor
- Serving HTML content via raw sockets
- Handling HTTP GET requests manually
- Developing an auto-refreshing live sensor dashboard
Required Components
- 1x ESP8266 Development Board (NodeMCU or Wemos D1 Mini recommended)
- 1x DHT11 Sensor
- Jumper wires
- Breadboard (optional but useful for prototyping)
- USB cable for flashing and power
Step-by-Step Setup
1. Flash MicroPython Firmware onto ESP8266
Download the latest MicroPython firmware for ESP8266:
👉 MicroPython Download Page
Use esptool.py to flash the firmware:
pip install esptool
esptool.py --port /dev/ttyUSB0 erase_flash
esptool.py --port /dev/ttyUSB0 --baud 460800 write_flash --flash_size=detect 0 esp8266-xxxxxx.bin
Replace /dev/ttyUSB0 with your actual port and esp8266-xxxxxx.bin with the downloaded firmware file.
2. Install an Editor/IDE
Use Thonny, uPyCraft, or WebREPL to interact with the board. Thonny is beginner-friendly and supports MicroPython out-of-the-box.
3. Connect the DHT11 Sensor
- VCC to 3.3V on ESP8266
- GND to GND
- DATA to GPIO2 (also known as D4 on NodeMCU)
Use a 10K pull-up resistor between the DATA and VCC line if the sensor is unstable.
Writing the MicroPython Code
Connect to Wi-Fi
import network

ssid = 'Your_SSID'
password = 'Your_PASSWORD'

station = network.WLAN(network.STA_IF)
station.active(True)
station.connect(ssid, password)

while not station.isconnected():
    pass

print('Network connected:', station.ifconfig())
Read from DHT11 Sensor
import dht
import machine

dht_sensor = dht.DHT11(machine.Pin(2))

def read_dht():
    try:
        dht_sensor.measure()
        temp = dht_sensor.temperature()
        hum = dht_sensor.humidity()
        return temp, hum
    except Exception as e:
        print('Sensor read error:', e)
        return None, None
Create the Web Server
import socket
def web_page():
temp, hum = read_dht()
if temp is None:
return "<h1>Error reading sensor data.</h1>"
html = f"""
<html><head><title>DHT11 Sensor Data</title>
<meta http-equiv='refresh' content='5'>
<style>
body {{ font-family: Arial; text-align: center; margin-top: 50px; }}
.box {{ display: inline-block; border: 1px solid #ccc; padding: 20px; border-radius: 10px; }}
</style></head>
<body><div class='box'>
<h1>DHT11 Sensor Readings</h1>
<p>Temperature: <strong>{temp}°C</strong></p>
<p>Humidity: <strong>{hum}%</strong></p>
</div></body></html>
"""
return html
s = socket.socket(socket.AF_INET, socket.SOCK_STREAM)
s.bind(('', 80))
s.listen(5)
print('Web server is running...')
while True:
conn, addr = s.accept()
print('Connection from', addr)
request = conn.recv(1024)
response = web_page()
conn.send('HTTP/1.1 200 OK\r\n')
conn.send('Content-Type: text/html\r\n')
conn.send('Connection: close\r\n\r\n')
conn.sendall(response)
conn.close()
Understanding the Process
Each time a client accesses the ESP8266’s IP address, a simple HTTP GET request is made. The server responds with a dynamically generated HTML page, which includes live temperature and humidity readings. This is how a basic but real web server works inside an IoT device.
Real-World Applications
- Smart home environment monitoring
- School science projects
- Weather data logging
- Remote sensor dashboards
- Lightweight industrial telemetry
Tips and Enhancements
- Add CSS styling for better UI.
- Integrate with cloud platforms like ThingSpeak or Firebase.
- Store historical data in flash memory.
- Secure the server with a basic login page.
Frequently Asked Questions (FAQ)
Q: How often can I read the DHT11 sensor?
A: DHT11 typically supports one reading every 1–2 seconds. More frequent reads may return incorrect data.
Q: How can I find the IP address of my ESP8266?
A: After successful Wi-Fi connection, the station.ifconfig() output shows the IP. The first value is the IP address.
Q: What browsers can I use to access the server?
A: Any browser on the same Wi-Fi network can access it: Chrome, Firefox, Edge, Safari, etc.
Q: Can I make the web page auto-refresh?
A: Yes, the meta tag <meta http-equiv='refresh' content='5'> will refresh the page every 5 seconds.
Q: Is it safe to leave the ESP8266 running as a server for long periods?
A: Yes, but ensure proper power supply, cooling, and optionally add a watchdog timer to auto-reset in case of hang.
Conclusion
This project is more than just a beginner’s exercise; it’s a stepping stone to more complex IoT applications. From understanding HTTP mechanics to building live dashboards with real sensor data, you’ve touched on key elements of embedded networking. Once you’re comfortable with this setup, you can expand it with APIs, external databases, or even control systems. The sky’s the limit!
If you found this article, How to Build a Web Server with ESP8266 and MicroPython to Read DHT11 Sensor Data, helpful, share it with your friends and visit our website for more tutorials.