
Getting Started with ESP8266 and ESP32 Using MicroPython
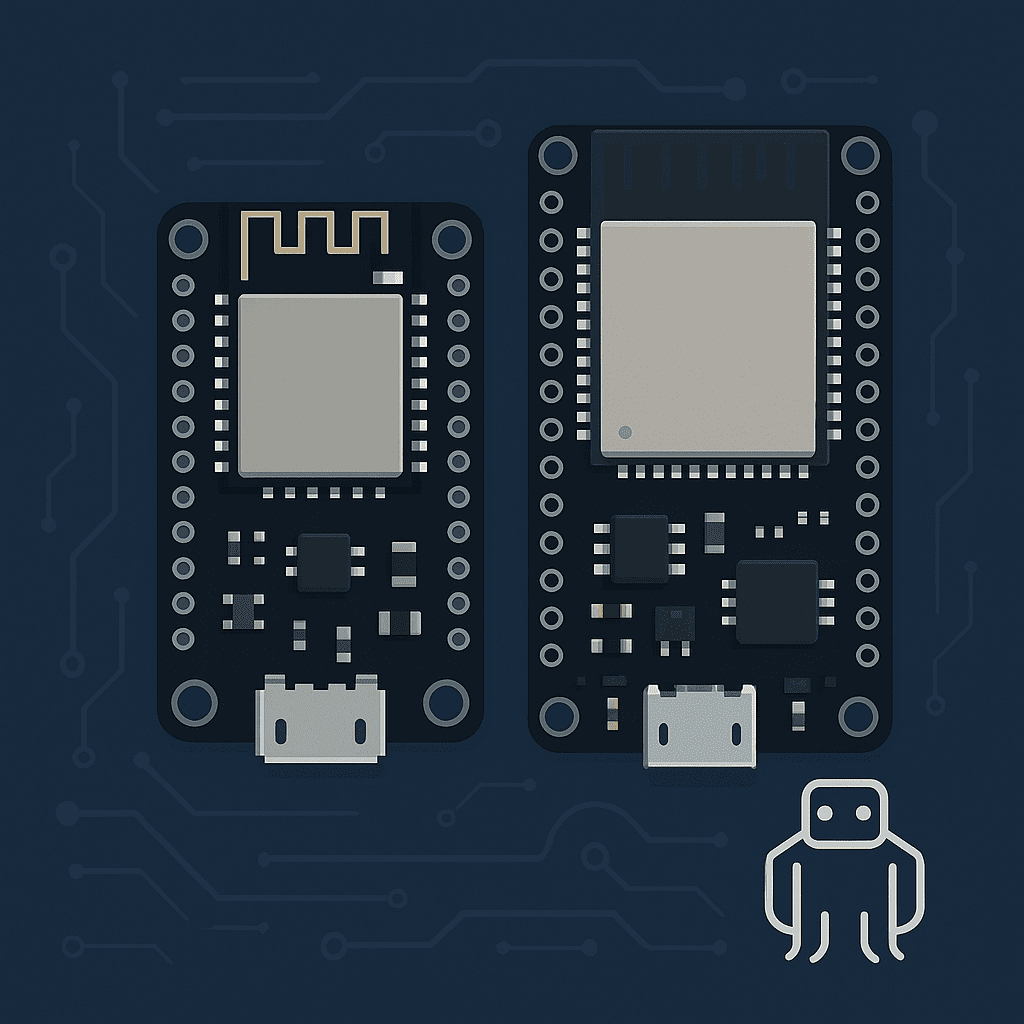
Getting Started with ESP8266 and ESP32 Using MicroPython , When it comes to diving into the world of IoT and embedded systems, ESP8266 and ESP32 are two of the most popular microcontroller boards. Lightweight, affordable, and Wi-Fi-enabled, they’re ideal for beginners and enthusiasts alike. And when paired with MicroPython, setting up your first project becomes intuitive and beginner-friendly.
In this article, we’ll walk you through the essential steps to get your ESP8266 or ESP32 up and running with MicroPython—from flashing the firmware to running your very first “Hello, World” script.
Why Choose MicroPython for ESP8266/ESP32?
MicroPython is a lean implementation of Python 3 specifically tailored for microcontrollers. It allows you to write simple, readable code in Python while interacting directly with hardware.
Key Benefits:
- Pythonic syntax makes development faster and more readable.
- Immediate feedback using REPL (interactive shell).
- Robust community support and lots of examples.
What You’ll Need
Before you begin, gather the following:
- ESP8266 or ESP32 Board
- USB Cable (for data transfer, not just charging)
- MicroPython Firmware (download from official MicroPython website)
- esptool.py (Python-based utility for flashing firmware)
- Serial Terminal (like PuTTY, minicom, or
screen) - Thonny IDE (or any Python IDE that supports serial connections)
Step 1: Install Python and esptool
First, make sure Python 3 is installed on your computer. Then, open your terminal or command prompt and install esptool:
pip install esptoolThis tool will help you erase the board’s flash memory and upload the MicroPython firmware.
Step 2: Download the MicroPython Firmware
Head over to the official MicroPython downloads page and grab the latest .bin file for your board (ESP8266 or ESP32). Save it somewhere easily accessible.
Step 3: Connect Your Board and Erase Flash Memory
Plug your board into your computer via USB. Use esptool.py to find the port and erase the flash memory:
esptool.py --port /dev/ttyUSB0 erase_flashReplace
/dev/ttyUSB0with your board’s actual port (likeCOM3on Windows).
Step 4: Flash the MicroPython Firmware
Now, flash the downloaded .bin file:
esptool.py --port /dev/ttyUSB0 --baud 460800 write_flash --flash_size=detect 0 <firmware>.binFor ESP8266, you might need to set baud rate to 115200 and address to 0x00000:
esptool.py --port /dev/ttyUSB0 --baud 115200 write_flash 0x00000 esp8266-<version>.binStep 5: Connect via Serial Terminal
Once flashed, use a serial terminal like PuTTY or screen to connect:
screen /dev/ttyUSB0 115200You should see the MicroPython REPL prompt:
>>>Congratulations! You’re now ready to write and execute Python code directly on your microcontroller.
Step 6: Run Your First Hello World
Type the following into your REPL or IDE like Thonny:
print("Hello, MicroPython!")You should see the output:
Hello, MicroPython!Pro Tips for First-Time Users
- Use Thonny IDE: It has built-in support for MicroPython and lets you upload files easily.
- Check USB Drivers: On Windows, you may need CP210x or CH340 drivers depending on your board.
- Don’t Panic on Errors: Press
Ctrl+Din REPL to soft reboot orCtrl+Cto interrupt running code.
Frequently Asked Questions (FAQs)
Q1: Can I use Arduino IDE instead of MicroPython?
Yes, but the programming style and capabilities differ. MicroPython offers a more Pythonic experience.
Q2: How do I update MicroPython firmware?
Just re-flash using esptool.py. There’s no need to uninstall the old version.
Q3: Is MicroPython slower than C?
Yes, slightly. But for most beginner and moderate applications, the difference is negligible.
Q4: How do I upload files like main.py?
Use tools like ampy, rshell, or Thonny’s file manager to upload files to the board.
Final Thoughts
Setting up ESP8266 or ESP32 with MicroPython is one of the most rewarding ways to get started with embedded systems and IoT. With just a few commands, you can turn a tiny board into a powerful programmable device ready to interact with the physical world.
If you found this guide on Getting Started with ESP8266 and ESP32 Using MicroPython helpful, don’t forget to bookmark it and share it with fellow makers and tinkerers.
Happy Hacking!
External Resources: